Building a food forest is… a lot. A LOT.
We thought we knew this going in, but there’s understanding it and then there’s experiencing it.
Because of a long, convoluted story I won’t go into (it’s not that interesting), we weren’t able to hire the landscapers our designer recommended for us, and by the time we figured this out, pretty much every landscaper in the area was booked up well into the summer.
So, we decided to get started on our own.
Out with the old, in with the new (trees)
The very first step for our transformation had to be taking out some old trees that weren’t part of the new plan, including two smallish cottonwoods (so messy!), a willow that was dying and ready to fall over, and a Russian olive, also dying and invasive in our area. We also needed to take out a crab apple with fire blight and some shrubby ditch plums that were volunteers and never produce.
Early in the spring, my neighbors were having their trees trimmed, and the guy knocked on my door to see if we had any trees that needed trimming. I said, “Boy, do we!” I’m sure he gave us a screaming deal to take the trees down, because we asked him to leave all the wood.
Part of that will go into creating a dead hedge at the back of the property. Some of the larger trunk pieces will be sliced into pieces to make paths, and the rest will (hopefully?) be chipped and turned into mulch later.
Then, we needed to start putting in our fruit trees.
The plan has a total of 34 trees, including new fruit trees and some of our existing trees. According to our plan from the designer, we needed to put in the northernmost row of fruit trees first — a dozen.
This was by far a labor of love. We had to rent a U-Haul pickup truck, drive up to Longmont to the tree farm, and bought a dozen fruit trees — apple, pear, peach, and cherry — on a nasty, windy, rainy spring day.
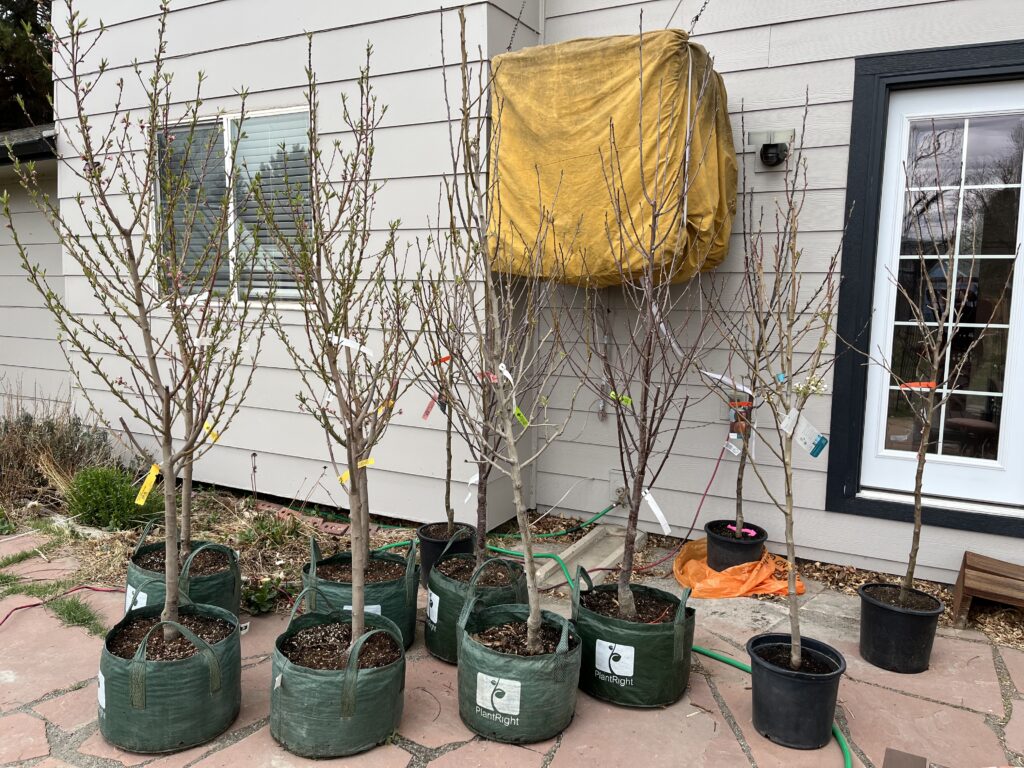
We also had to figure out where to put said trees. It taxed our math and geometry skills, but we finally managed to use our design to plot where the trees were supposed to go. Remember: measure twice, dig once!
Then we had to do the crazy hard work of digging a dozen holes for them in our hard clay soil. Huge kudos to my husband who did a lot of the digging himself. We also hired our friend’s 13-yr-old son to help which was delightfully comical.
It took several weeks, but we finally got all 12 trees planted and thriving.
Planting clover, first attempt
Another early task on our list from the designer was to seed the lawn area with clover.
Because we’ve been planning this for over a year, our “lawn” in the back wasn’t looking great. I knew, too, that there was a thick layer of thatch, the ghosts of lawns past. So Devyn and I went to work and raked the entire area of lawn we planned to overseed with clover. With the thatch gone, much of it looked like bare dirt.
I dutifully bought mixed clover seeds online and we spread them and watered. We also fertilized using fertilizer we had left over from the previous year.
But all for naught. The clover did not sprout on our nasty, rock-hard clay soil. We saw it come up in a few places with better soil, where there used to be garden beds, etc. but it never really took off. So much for our pretty clover lawn…
Dirt and guilds
The next step was to plant the guild plants around each tree. A guild is a collection of plants in permaculture that all work together. For instance, some repel pests while others fix nitrogen or provide ground cover, and so on.
Knowing from recent firsthand experience how crappy our clay soil is, I realized we didn’t have the time or materials (different layers of mulch, etc.) to build up our soil before we started to plant our guilds. So we ended up ordering some garden dirt to be delivered.
Of course, that presented a new challenge because the dirt was delivered to the front of the house, in the street, and we needed it in the back of the house.
Enterprising entrepreneur that I am, I hired my daughter and two of her friends to move the dirt for us. I will say that a group of 11-13 year olds are not as fast or efficient as a landscaping crew might be, but they did, eventually, get the job done!
We put down a layer of cardboard we’d been collecting all winter to help kill and deter weeds (ha! more on that in a moment) and layered the garden dirt on top of it.
At this point in the journey, real life intervened. We had some travel planned that took us away from the house for several weeks with only a week at home in between.
To make sure the trees survived in the heat of summer, we bought many yards of drip hose and coiled it around each tree, then left it running at the lowest possible amount while we were away. It worked! The trees survived beautifully. Our “lawn” on the other hand… It dried to an absolute crisp.
By the time we were back long enough to think about planting our guild plants, weeds had overtaken our previously pristine garden dirt around the trees. We have bindweed in abundance here, and it wasn’t about to be deterred by something so simple as a layer of cardboard!
We weeded and planted the guild plants we’d already purchased, but the proper guilds will have to wait to go in next spring.
Unexpected crops
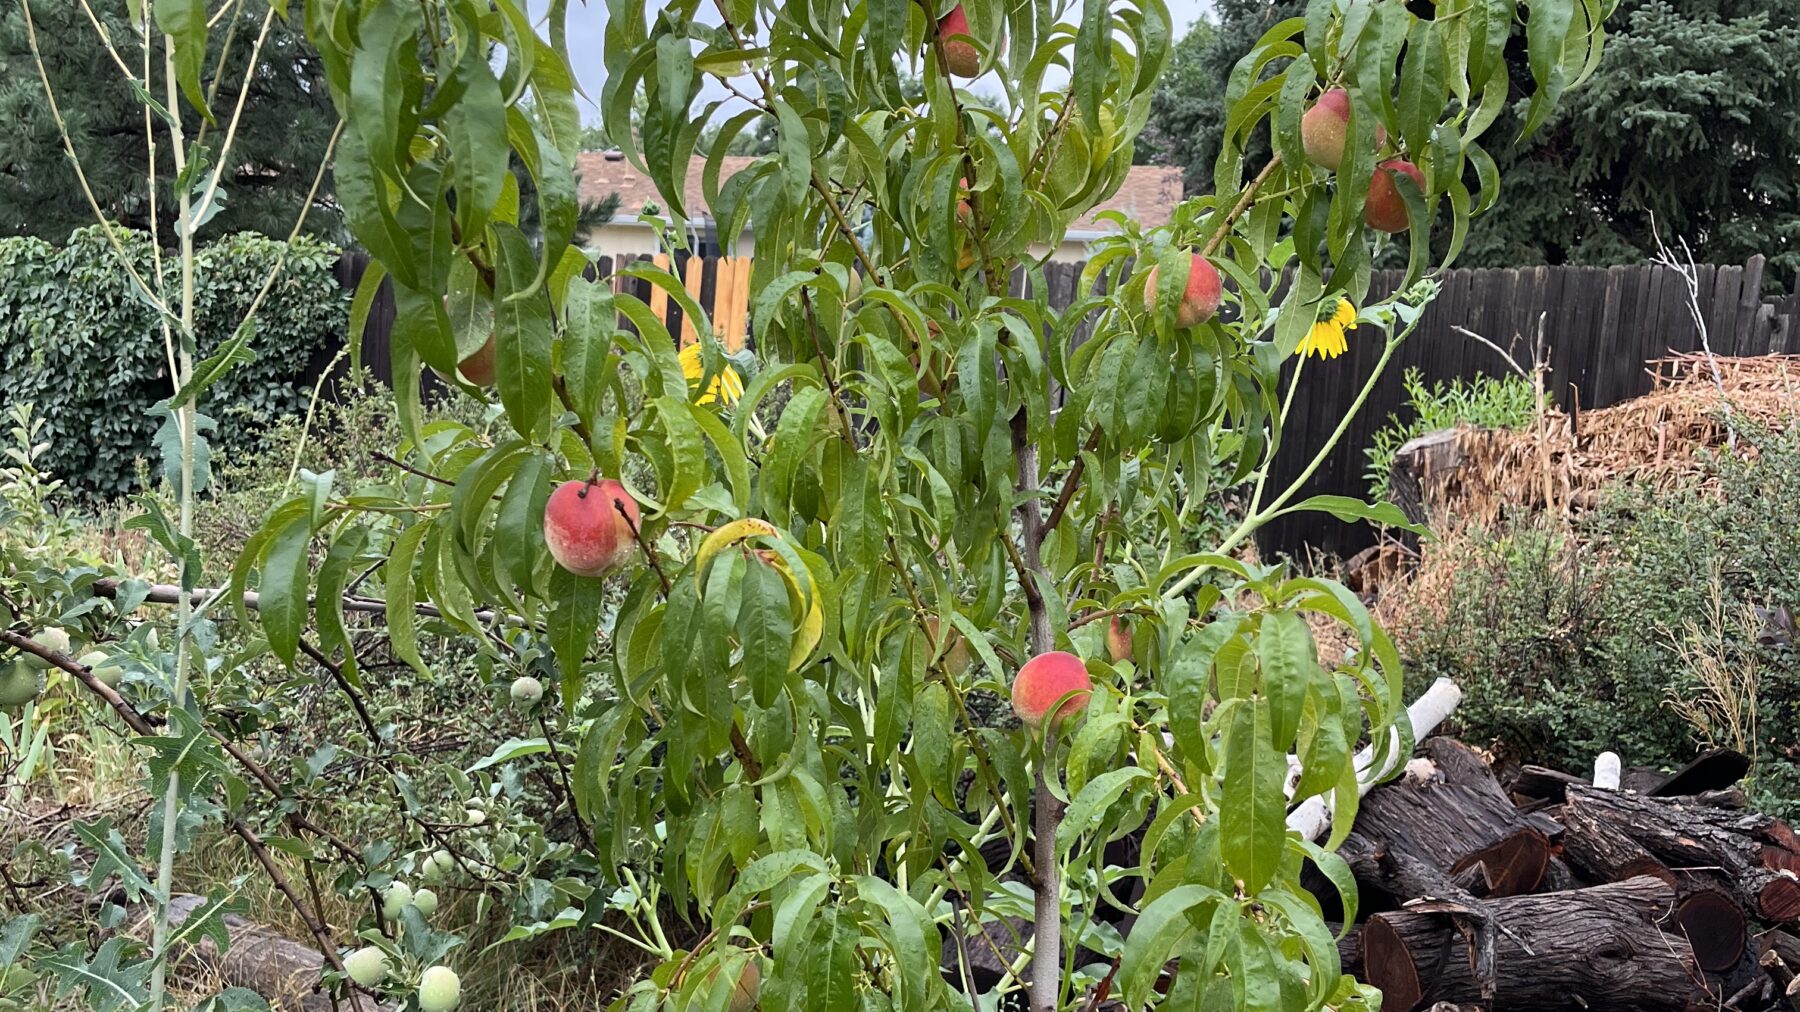
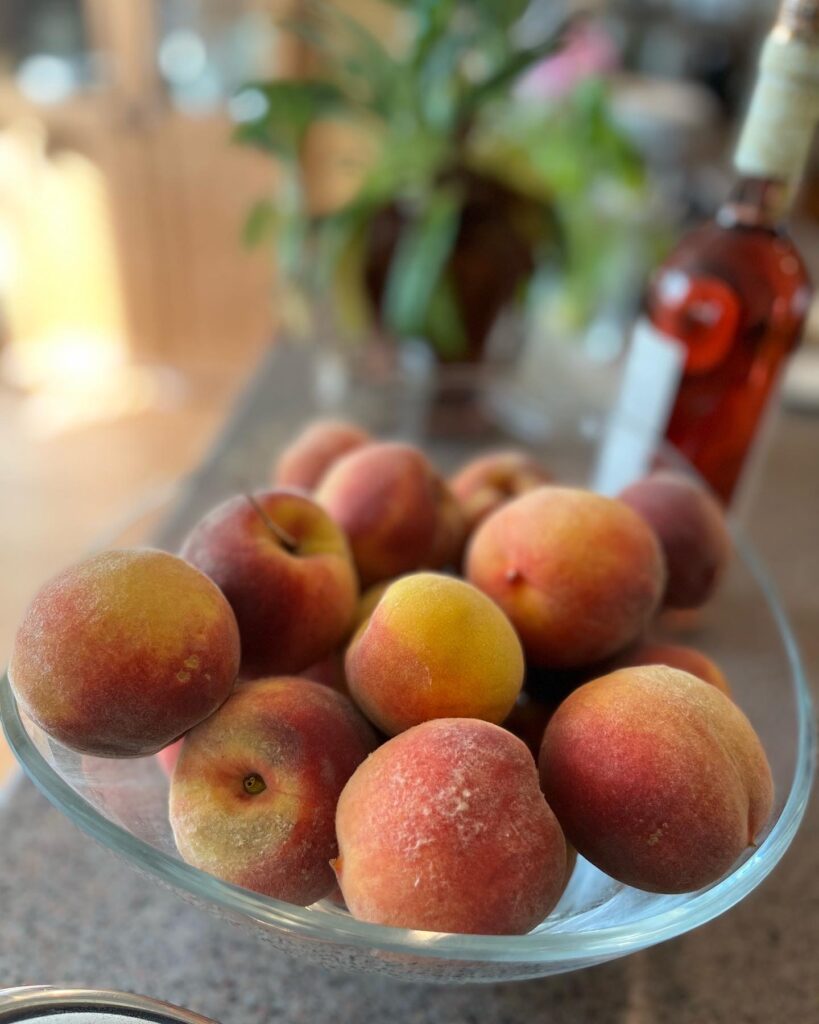
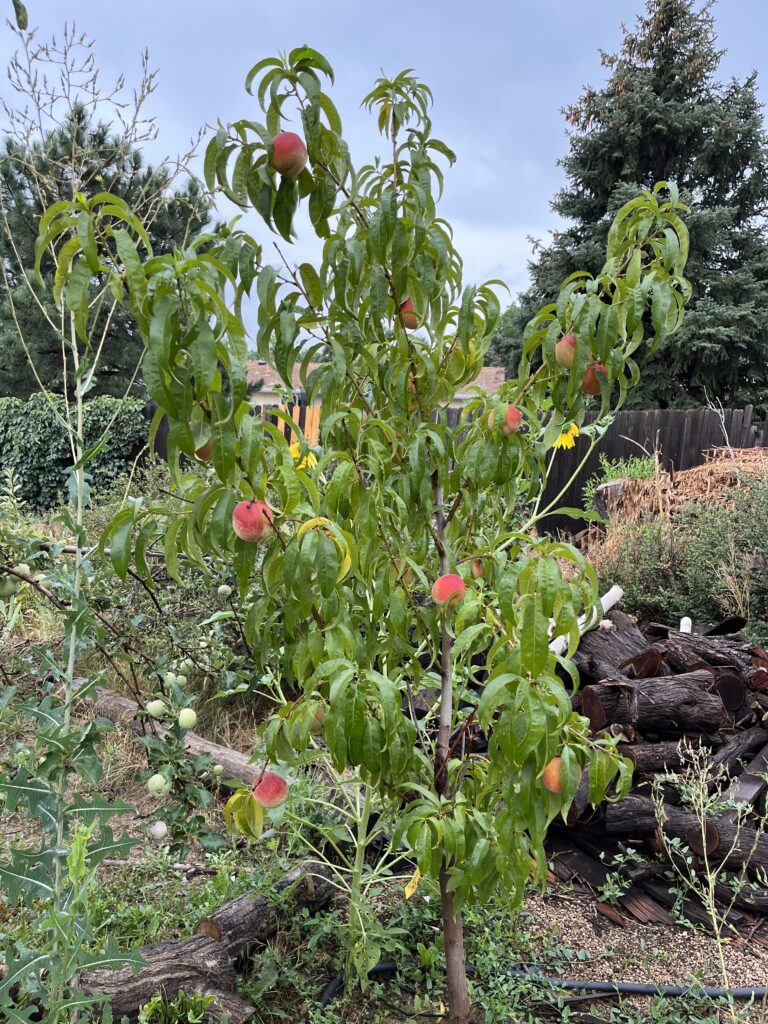
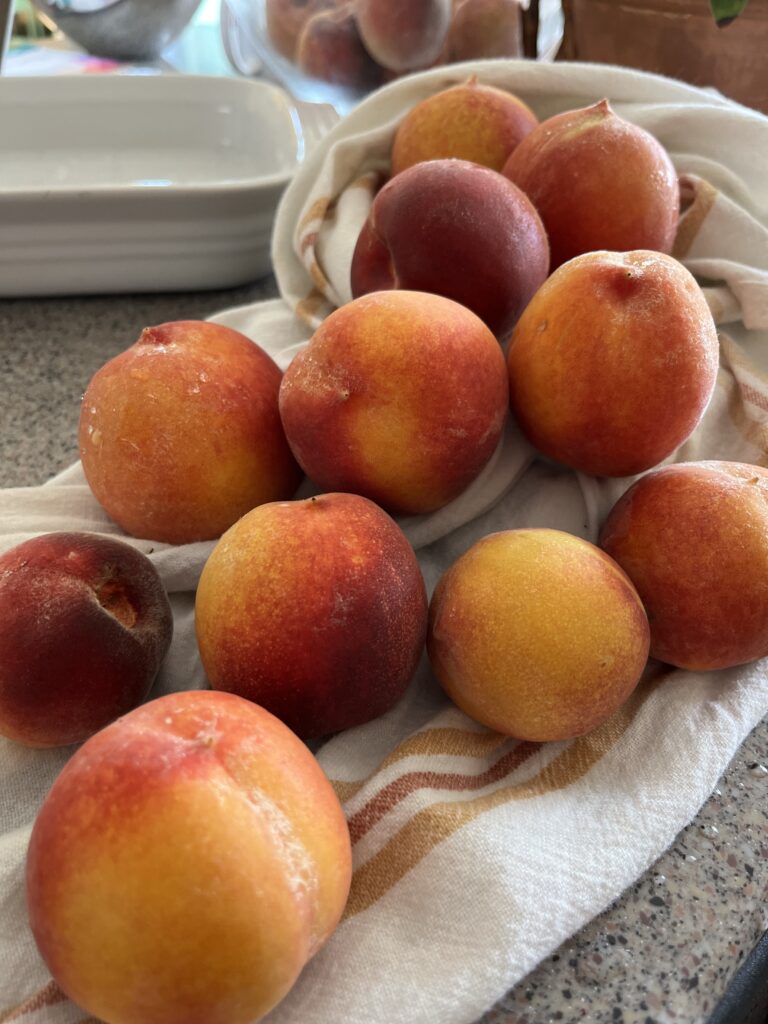
I knew not to expect fruit our first year from the new fruit trees, but against all odds, the peach trees bloomed and set some fruit. We were able to harvest 3 or 4 dozen of the most perfect, delicious peaches from our four new peach trees, which was thrilling.
In addition, our friend who runs a local community garden had struck a deal with a local commercial mushroom grower to use their spent growing media as compost/mulch. She gifted us with a dozen or so bags, which we spread around our trees.
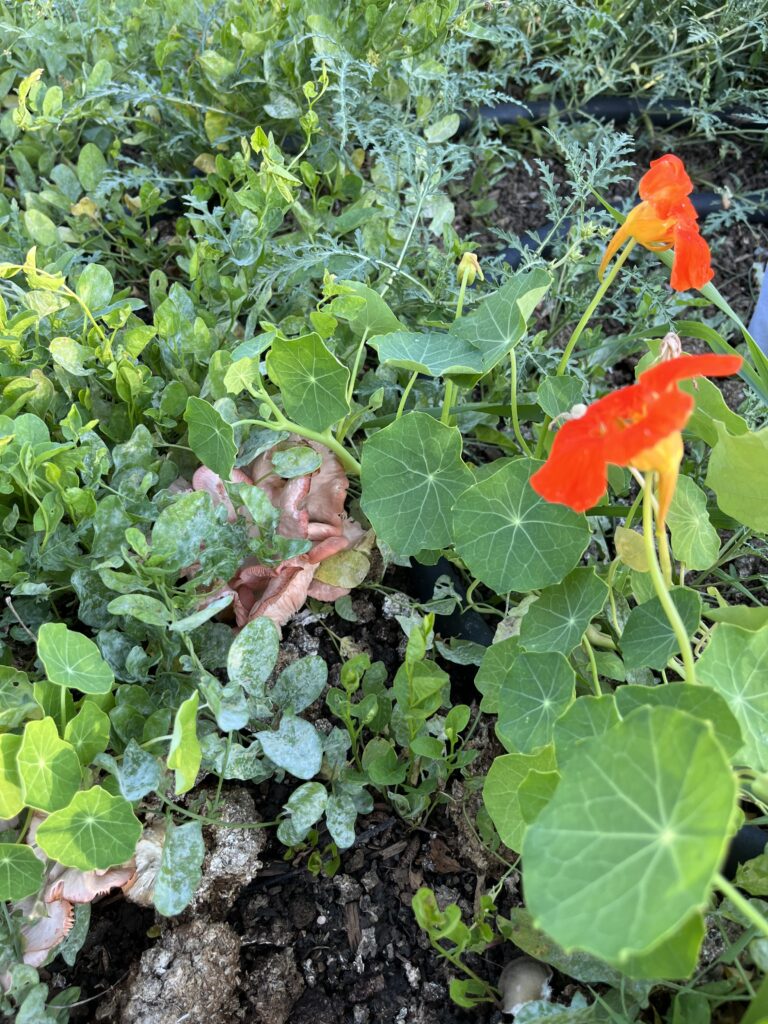
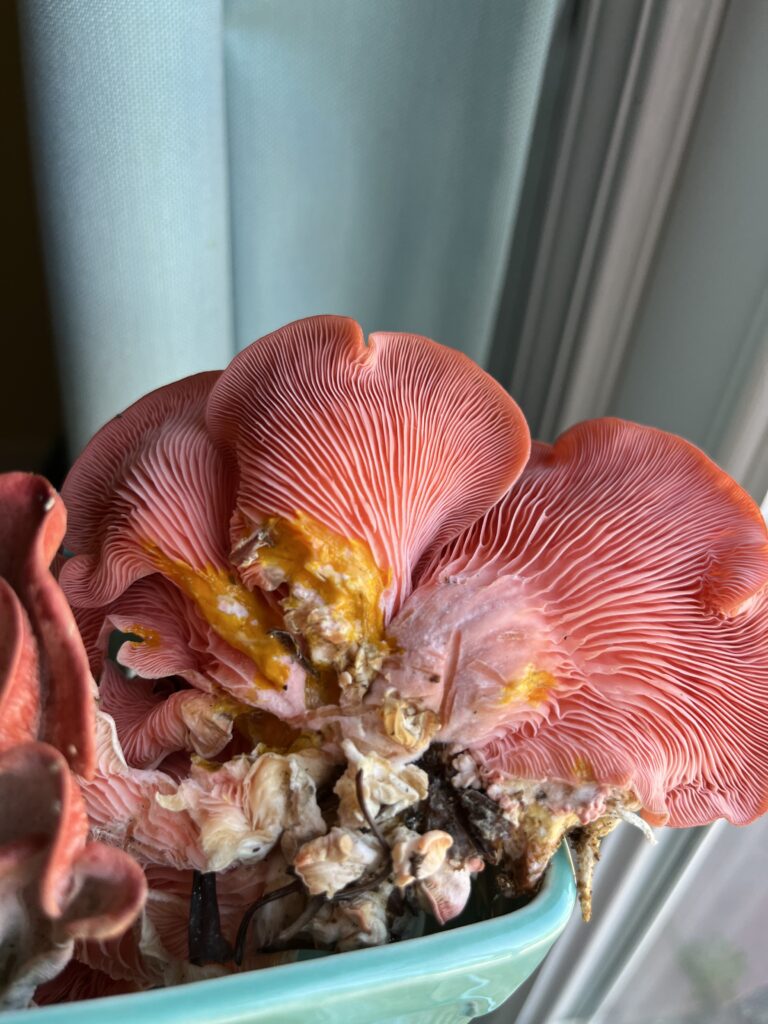
And then, probably due to the drip irrigation, what did we find? Pink and grey oyster mushrooms growing amongst our fruit trees and nasturtiums! That was a fun discovery, and I hope they keep fruiting next year.
We didn’t really have time or energy to plant much in the way of vegetables this year, so these unexpected harvests were a welcome sign that our hard work was starting to pay off, in some small ways.

